Choosing the Correct Digital Dry Film Thickness Gauge
There are many factors to consider when choosing an electronic coating thickness gauge. The first major consideration is what the substrate is made of. Electronic dry film thickness gauges need a metallic substrate to work. If the substrate is wood, plastic, rubber or any other material then these gauges are not an option.
The substrate should then be identified as either ferrous or non-ferrous so that the correct instrument measurement technique is used. It may be that a dual gauge/probe is required. This is a gauge that can measure on both ferrous and non-ferrous substrates.
The coating type must also be considered. For example, if the coating is magnetic on a ferrous substrate then the magnetic induction method will not work for determining coating thickness. Alternatively, if the coating is conductive on a non-ferrous material, then eddy currents will be induced in the coating causing the gauge to misinterpret the coating thickness. Therefore it is important to know about the properties of the coating and the substrate before you begin the process.
Choosing a Probe
Other factors to consider are the measurement ranges of the instrument or the probe. Instruments and probes are often designed for specific thicknesses, making them more accurate. For example in the Elcometer range:
- Scale 1 is 0-1500µm
- Scale 2 is 0-5mm
- Scale 3 is 0-13mm
-
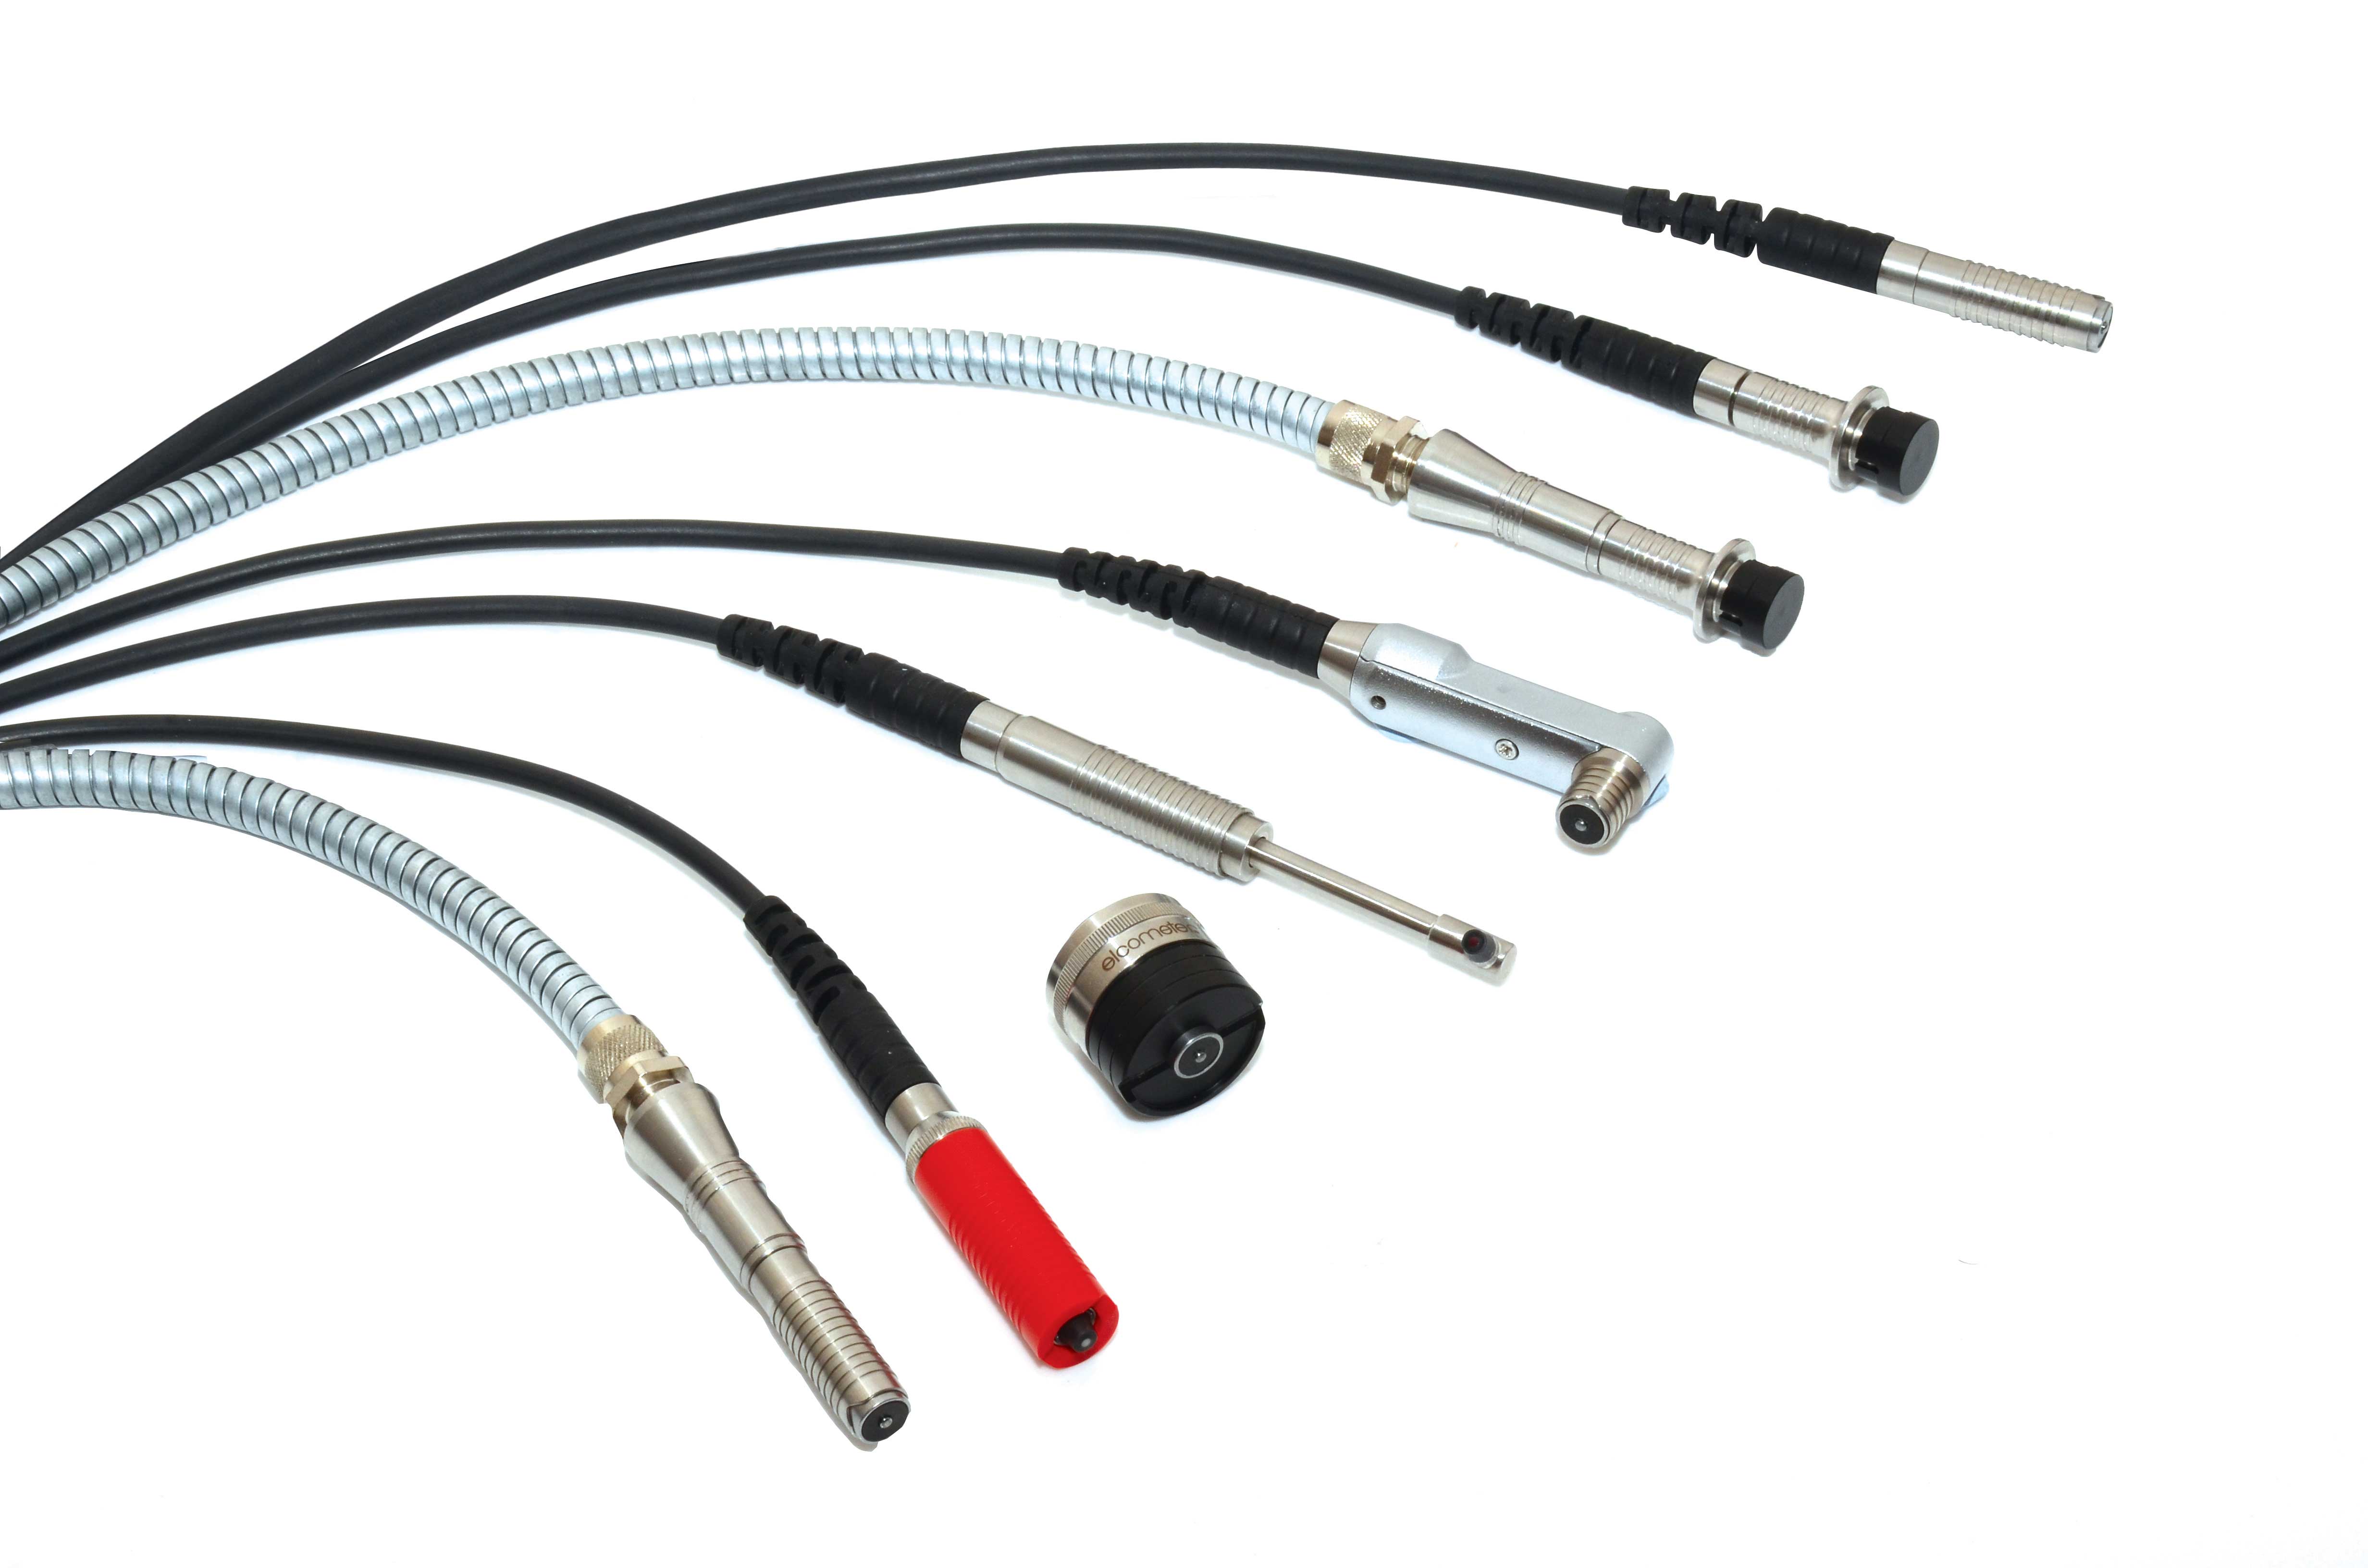
And so on. Another consideration is the probe shape. Many different probe designs exist in different ranges, as discussed previously. However, they can either be built into the instrument (integral) or attached to the instrument with a cable.
The choice is dependent on the job that is being undertaken. If it is required to measure on an easily accessible flat plate, then maybe an integral probe would be a good choice. If the measurement location is in an awkward area to access, for example inside a pipe, then a separate probe would be ideal.
A compromise between the two configurations also exists, called a PINIP (plug-in integral probe). This enables a gauge designed to use a separate probe to effectively behave like an integral gauge. The PINIP plugs in and screws up tight to the gauge to become part of the instrument. High temperature PINIPs also exist for measurement on hot surfaces which would otherwise damage the probe.
Probes can exist in many different arrangements. Commonly, they are straight and on a flexible wire, however, they are also available with the measurement tip set at a right angle to allow access to difficult areas. Miniature probes are also available with the addition of a 45 degree angle for ease of access. These are generally used when access is restricted or the sample footprint or headroom is small. Other options include telescopic probes which are useful to measure coatings inside pipes.
Elcometer 456 Coating Thickness Gauge
The Elcometer 456 gauge is available in three different versions, each differentiated by the features offered. The basic entry level gauge offers the capability to take more than 70 readings per minute.
The basic gauge can store the last five readings, provide statistical data and has an automatic rotating display enabling the reading to be upright irrespective of the angle at which the measurement is taken. The following statistics are recorded;
- Number of readings; ƞ
- Mean (average); x
- Standard deviation; σ
- Highest reading; hi
- Lowest reading; lo
- Coefficient of Variation; COV
- Elcometer index value; EIV
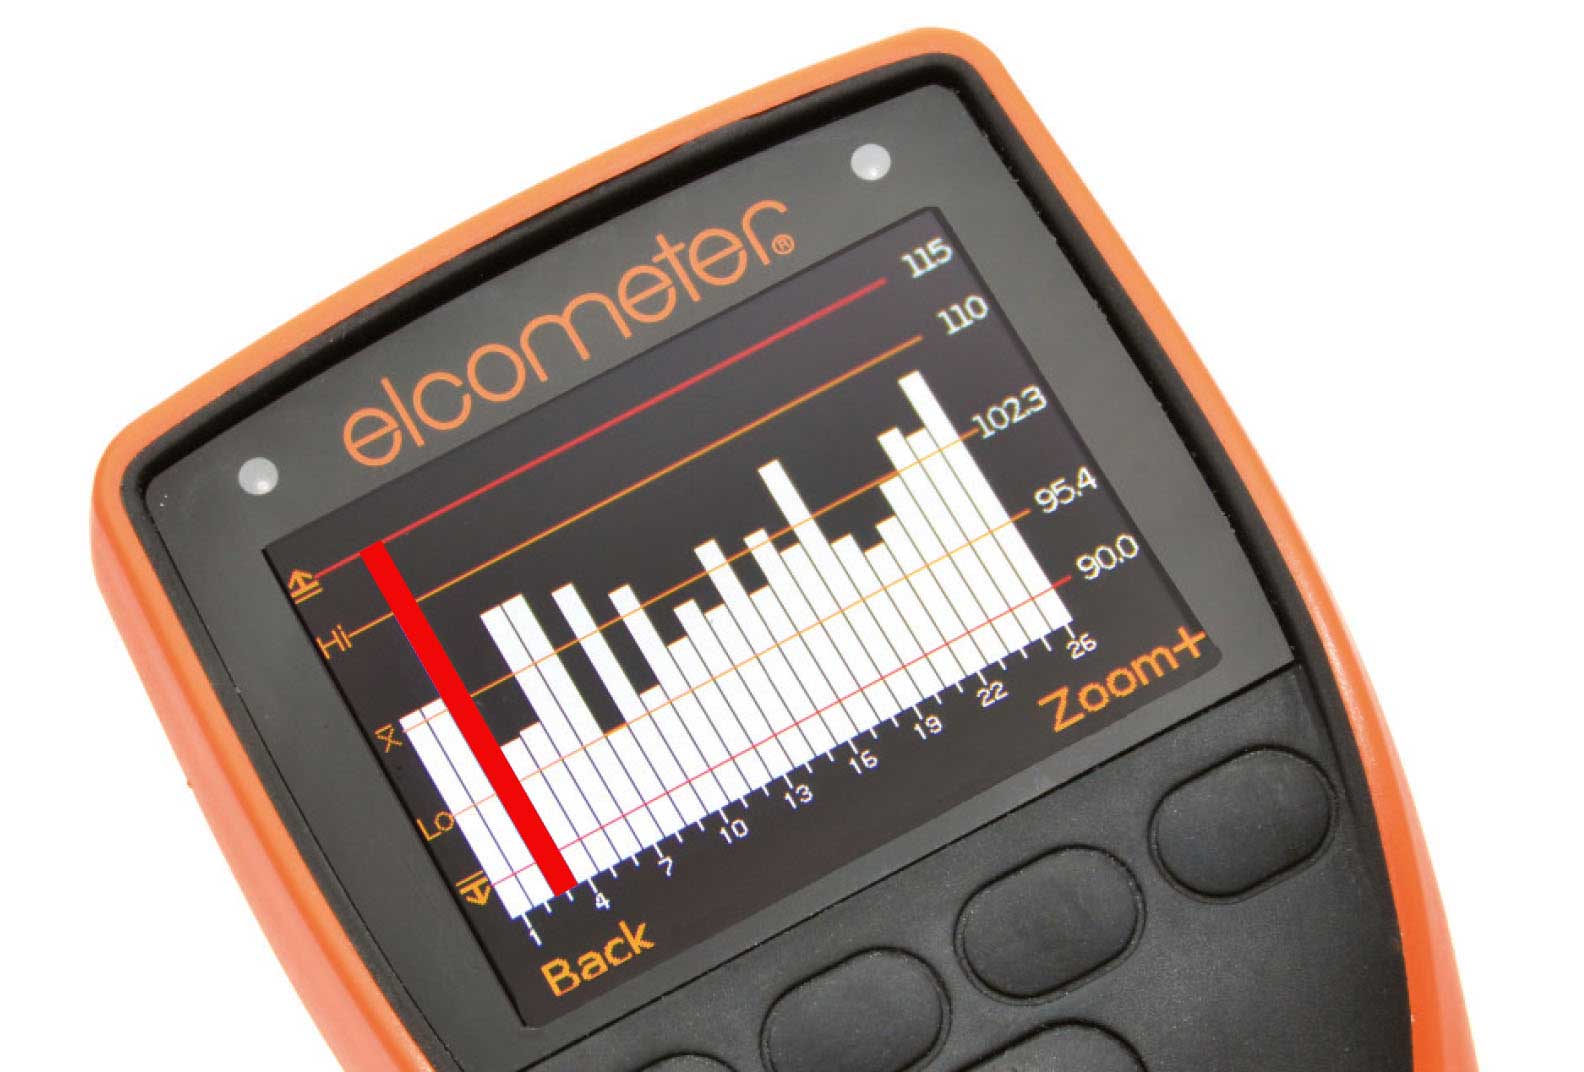
Elcometer Index Values are used in the automotive industry to assess a coating’s overall quality. High and low level limits can be set, giving an audible and visual alarm if the reading taken should be outside the limits set. Additionally, within the statistics table, the number of readings above the high limit, or below the low limit, will be displayed.
The Standard Elcometer 456 gauge is the first gauge in the range that enables the user to save a group of readings or a batch. This batch will hold up to 1500 readings which are date and time stamped. These batches can be normal, counted average or IMO PSPC.
The IMO PSPC standard states that “90% of all thickness measurements should be greater than or equal to NDFT (nominal dry film thickness) and none of the remaining 10% measurements should be below 0.9xNDFT”. If the coating has been applied to this standard then a Elcometer 456 gauge can be used to measure the dry film thickness and can indicate whether the coating has passed or failed.
The top gauge in the range enables up to 2,500 batches to be created holding as many as 150,000 readings in total.
The Elcometer 355 Coating Thickness Gauge
Using the same principles, magnetic induction or eddy current, the Elcometer 355 offers the same functionality as the Elcometer 456 but, is accurate to +/- 1% or 1µm, whichever is the greater. Other gauges are available which work on the same principle but have been aimed specifically at certain industries.
The Elcometer 456 IPC Industrial Protective Coating Thickness Gauge
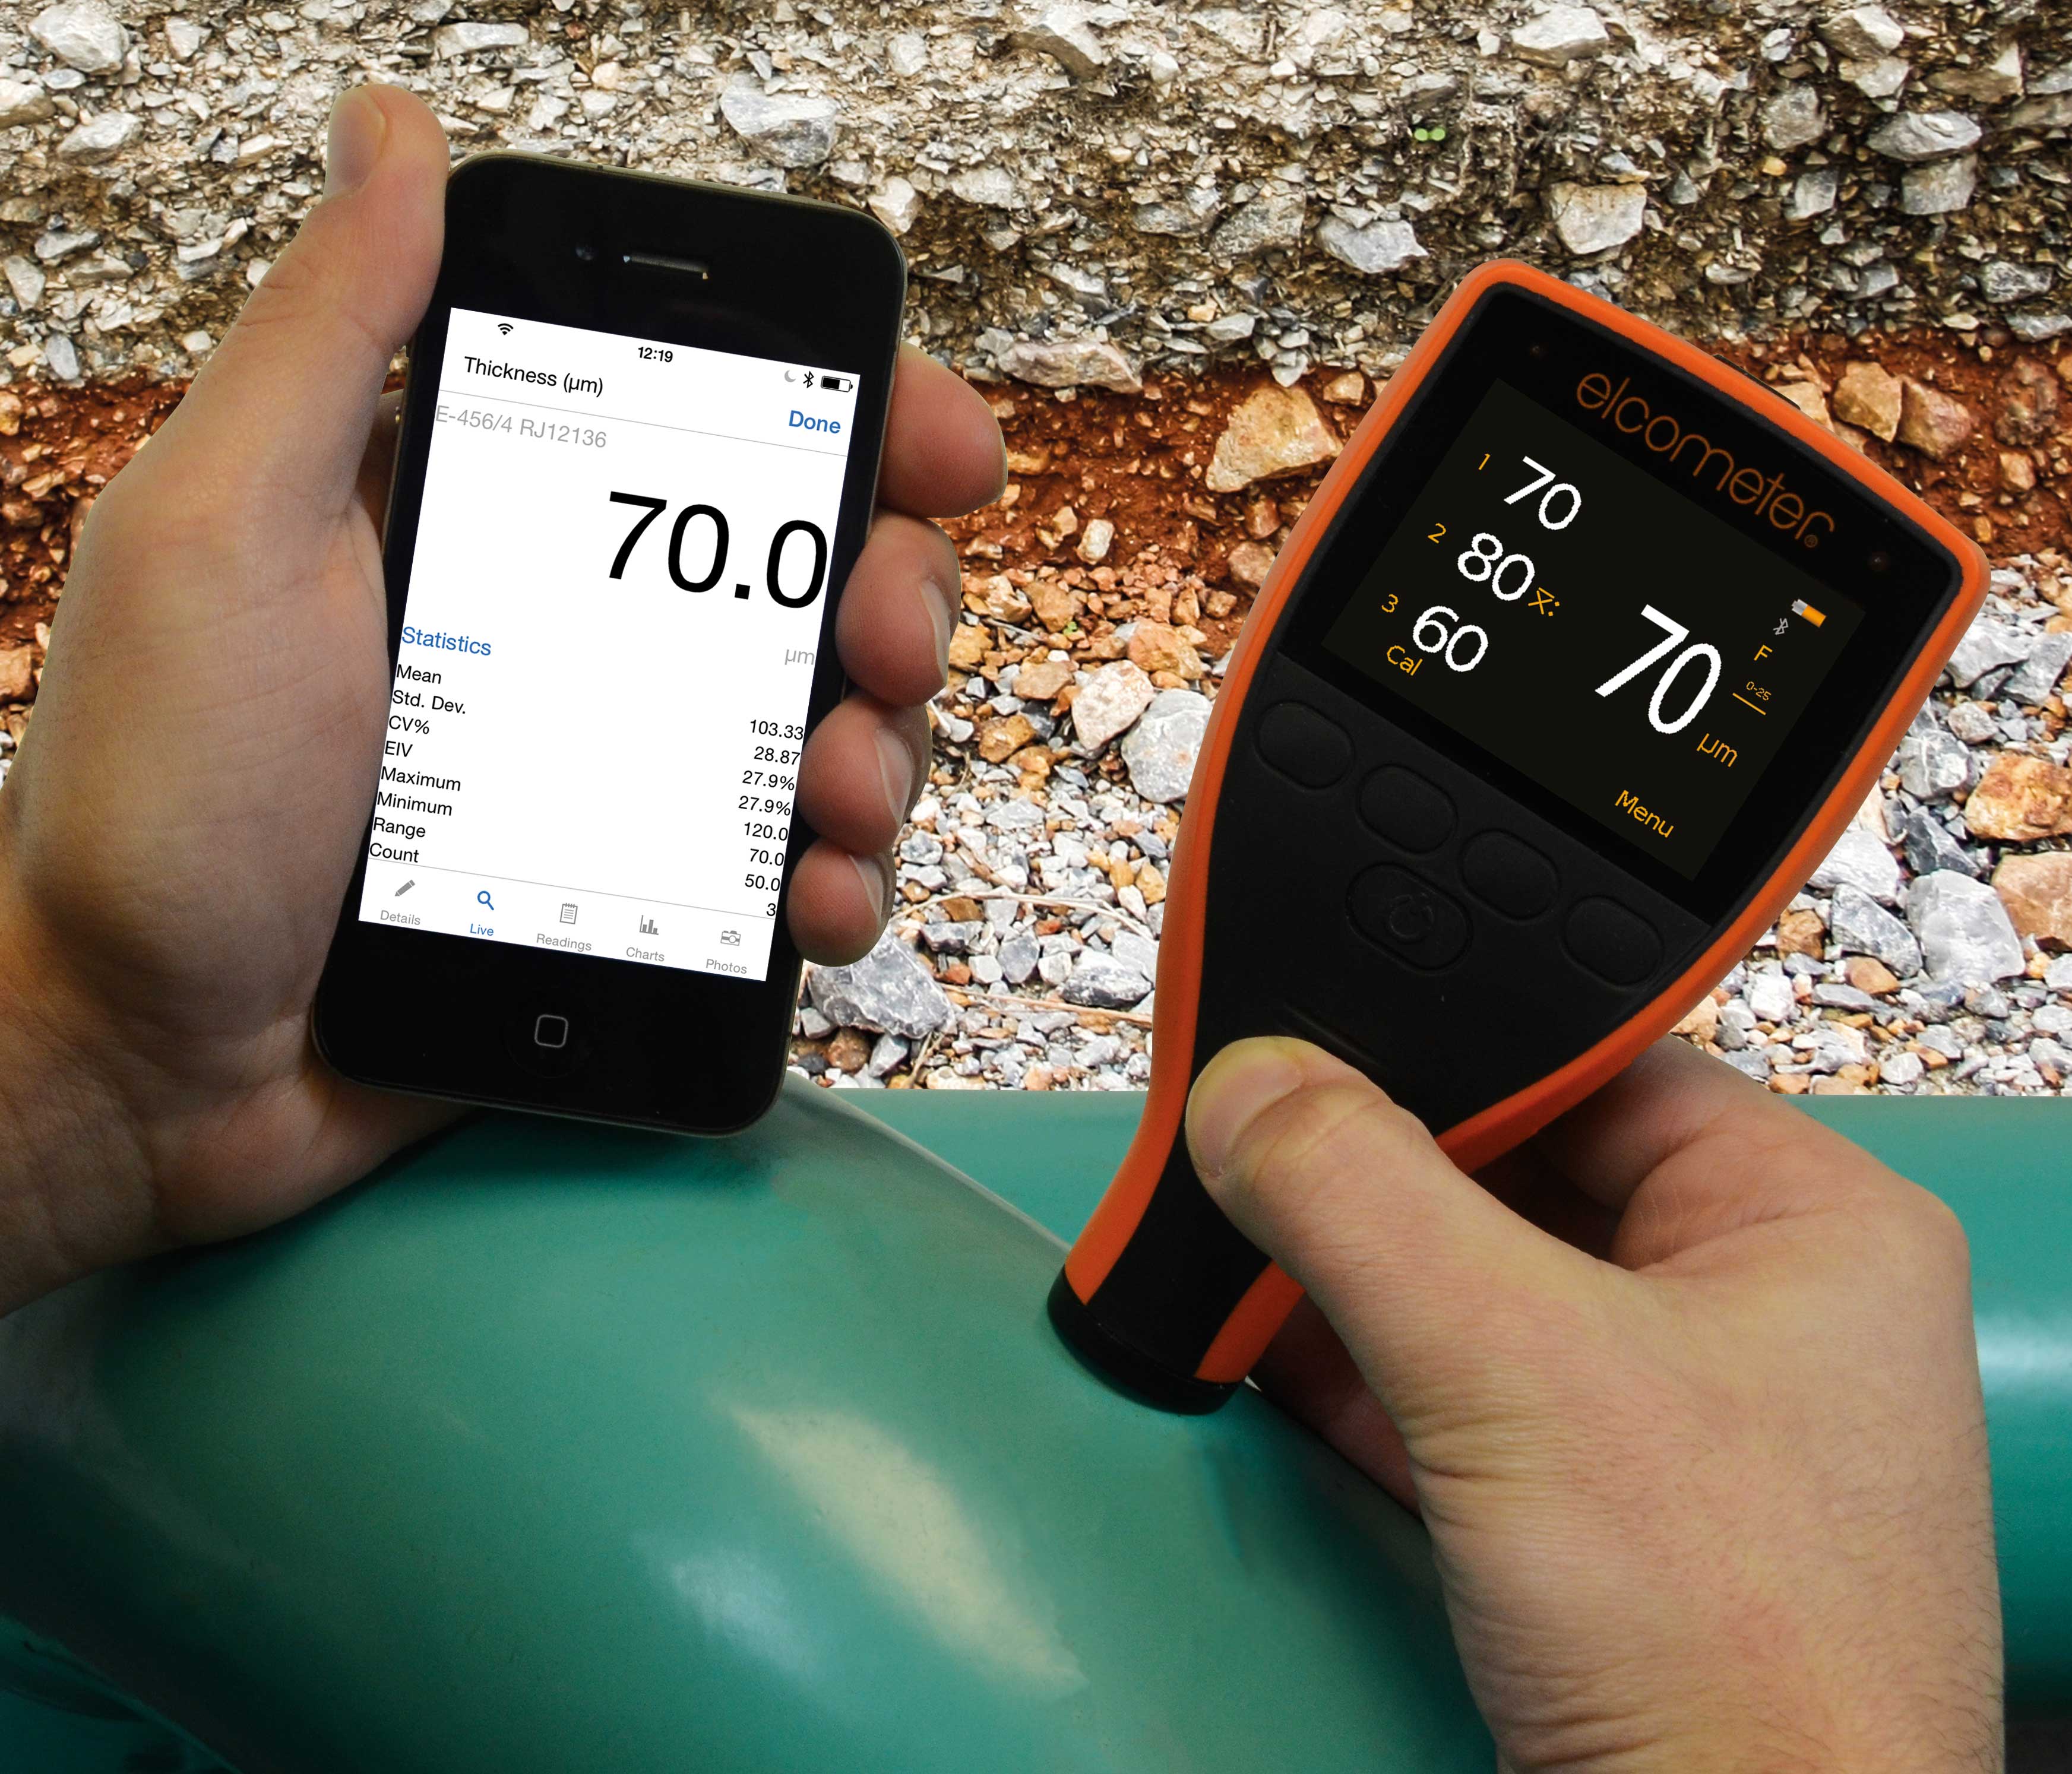
The Elcometer 456 Industrial Protective Coating Thickness Gauge is designed to measure dry film thickness on shot or grit blasted steel substrates. The gauge is pre-calibrated with 4 profile ranges smooth, fine, medium and course these 4 ranges provide a calibration for the gauge, enabling the user to measure a blasted surface without any further calibration.
The Elcometer 456 IPC gauge takes readings in groups of three. When the third reading is taken, the average (mean, xbar) of the three readings is displayed on the right hand side. The readings are displayed to the nearest 10µm (1 mil).
The Elcometer 311 Automotive Paint Meter
One such gauge is the Elcometer 311 which has been specifically designed to meet the requirements of today’s automotive refinishing market and is available in two models. The ferrous instrument is ideal for measuring coatings on steel body panels. The FNF instrument enables the user to measure on both steel and aluminium panels using one gauge with automatic switching.
Pre-calibrated on steel and aluminium car body panels, the Elcometer 311 is very easy to use. Check pieces are supplied with each instrument to verify accuracy.
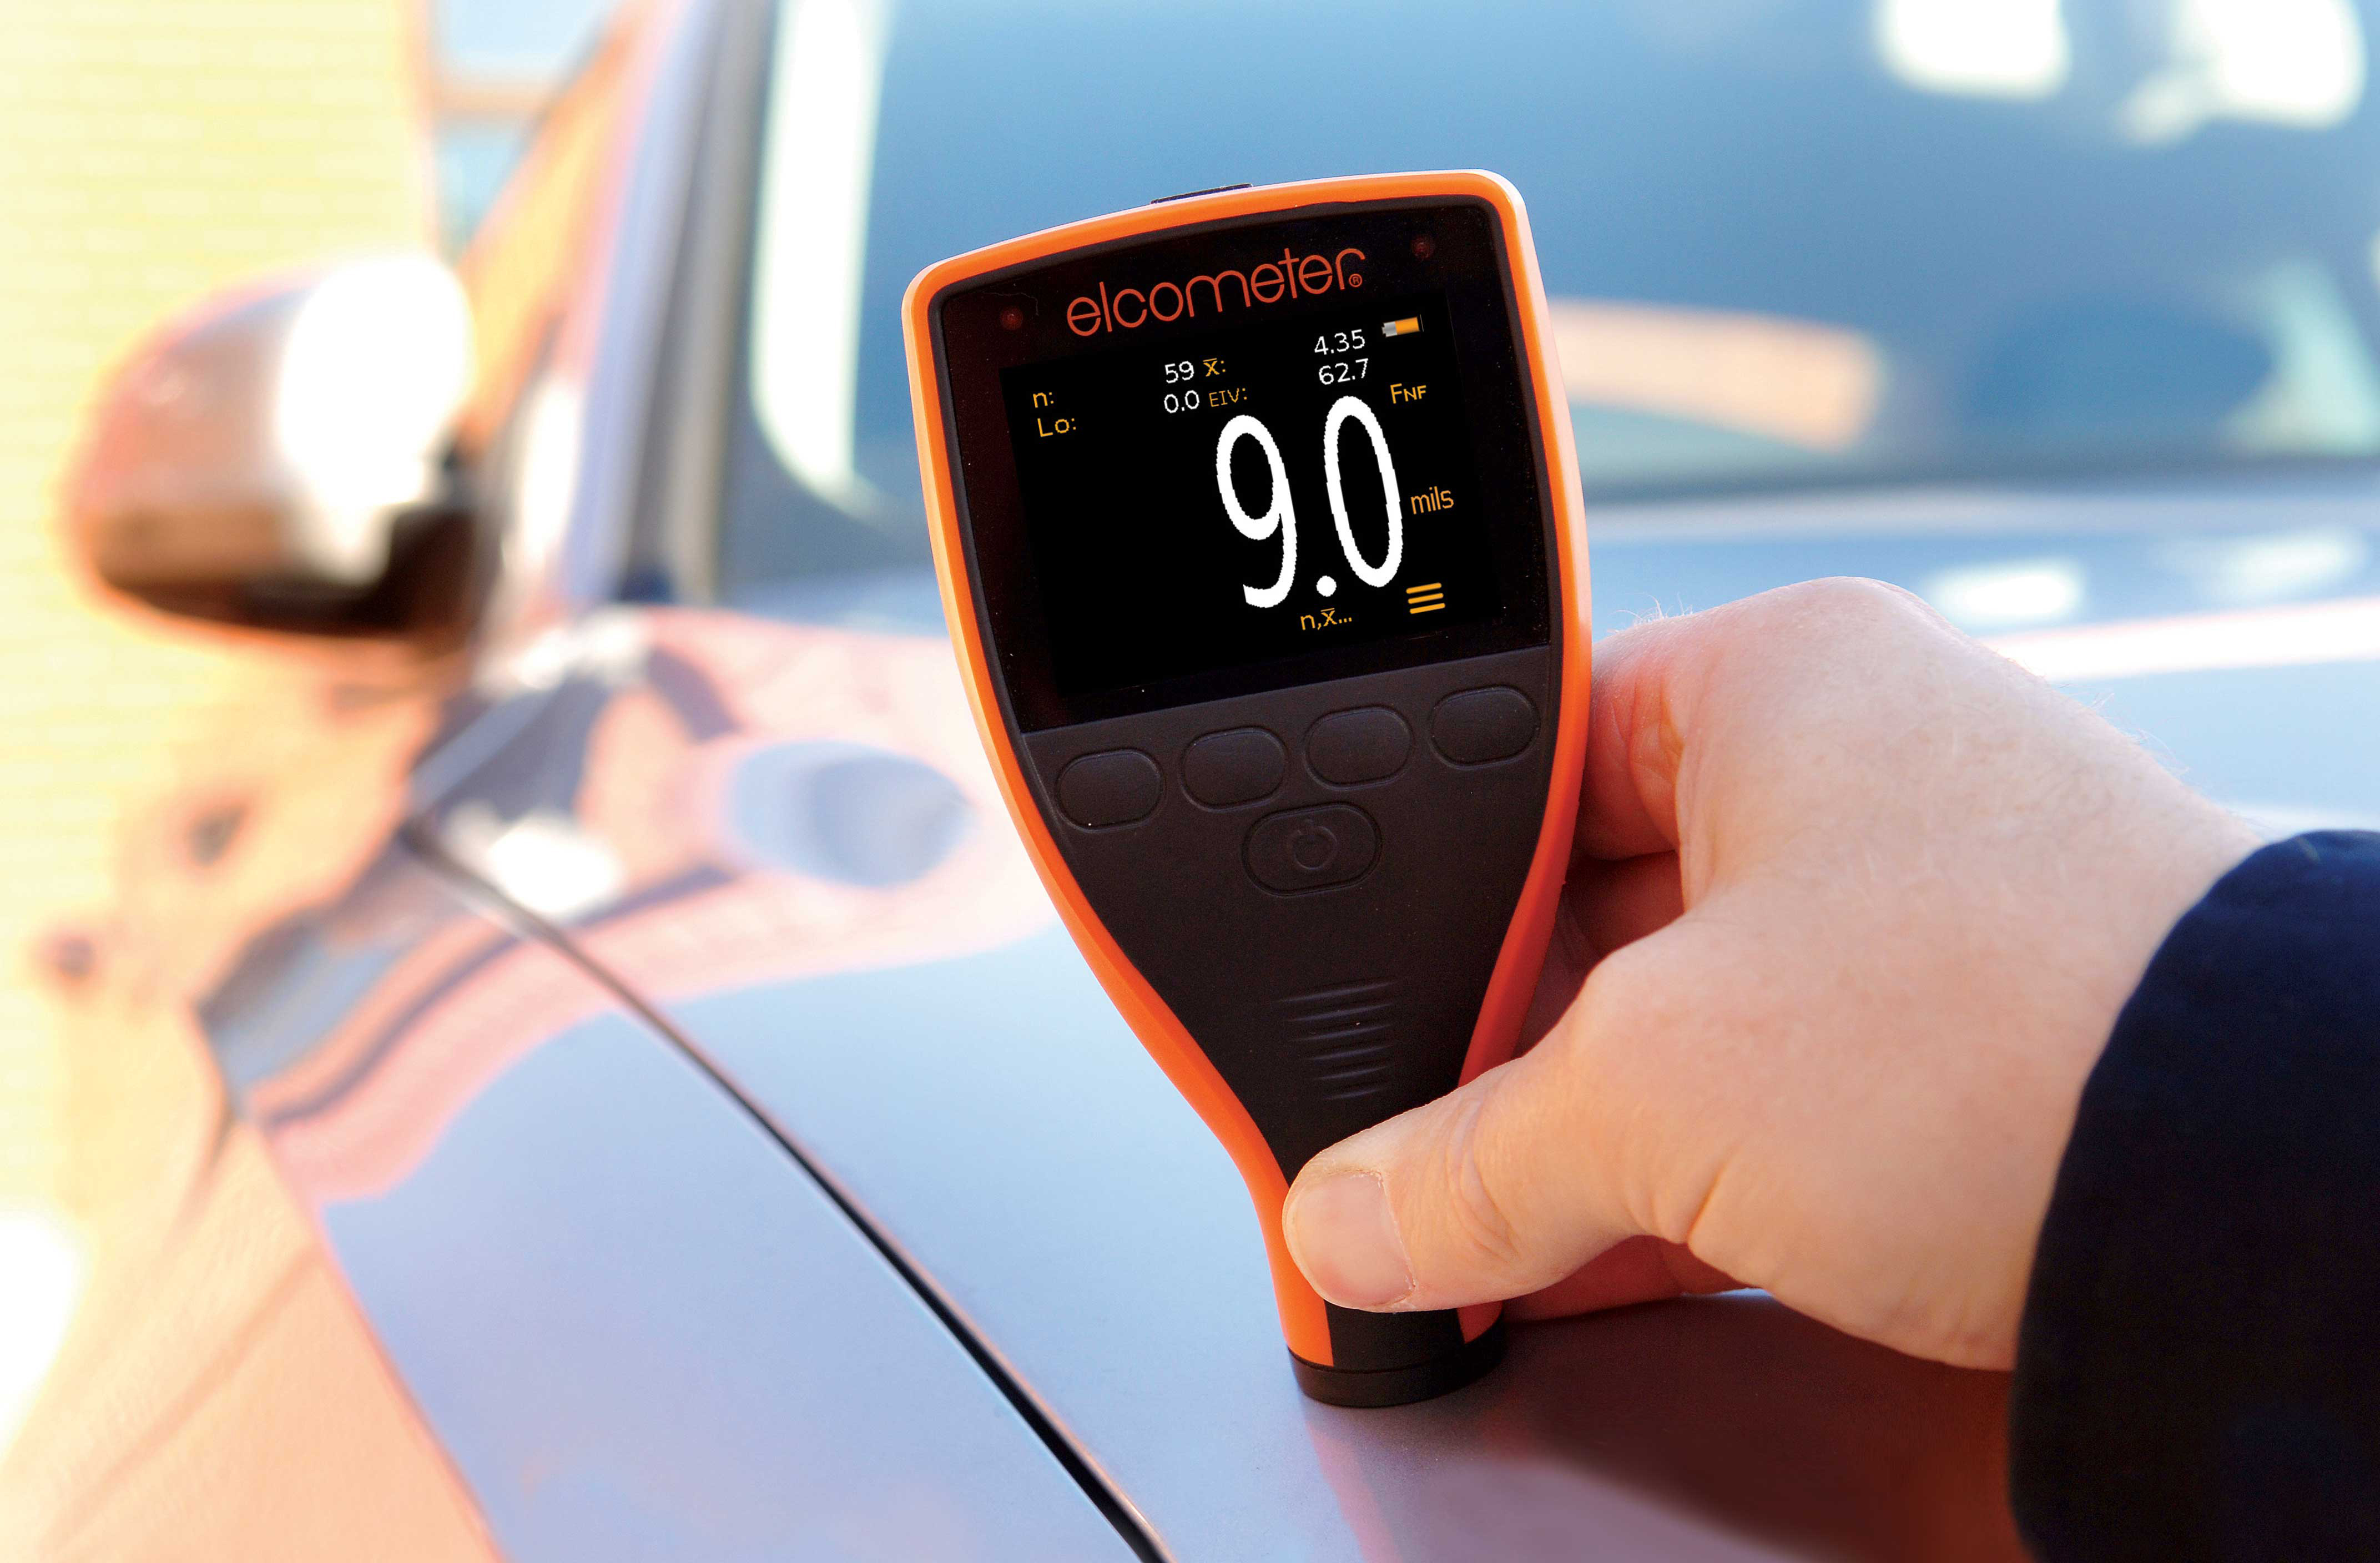
Elcometer 415 Industrial Paint & Powder Thickness Gauge
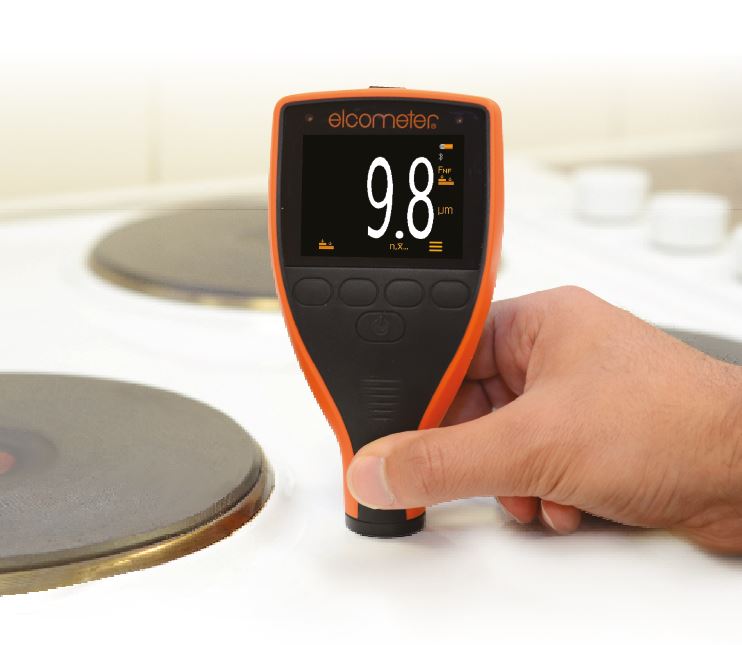
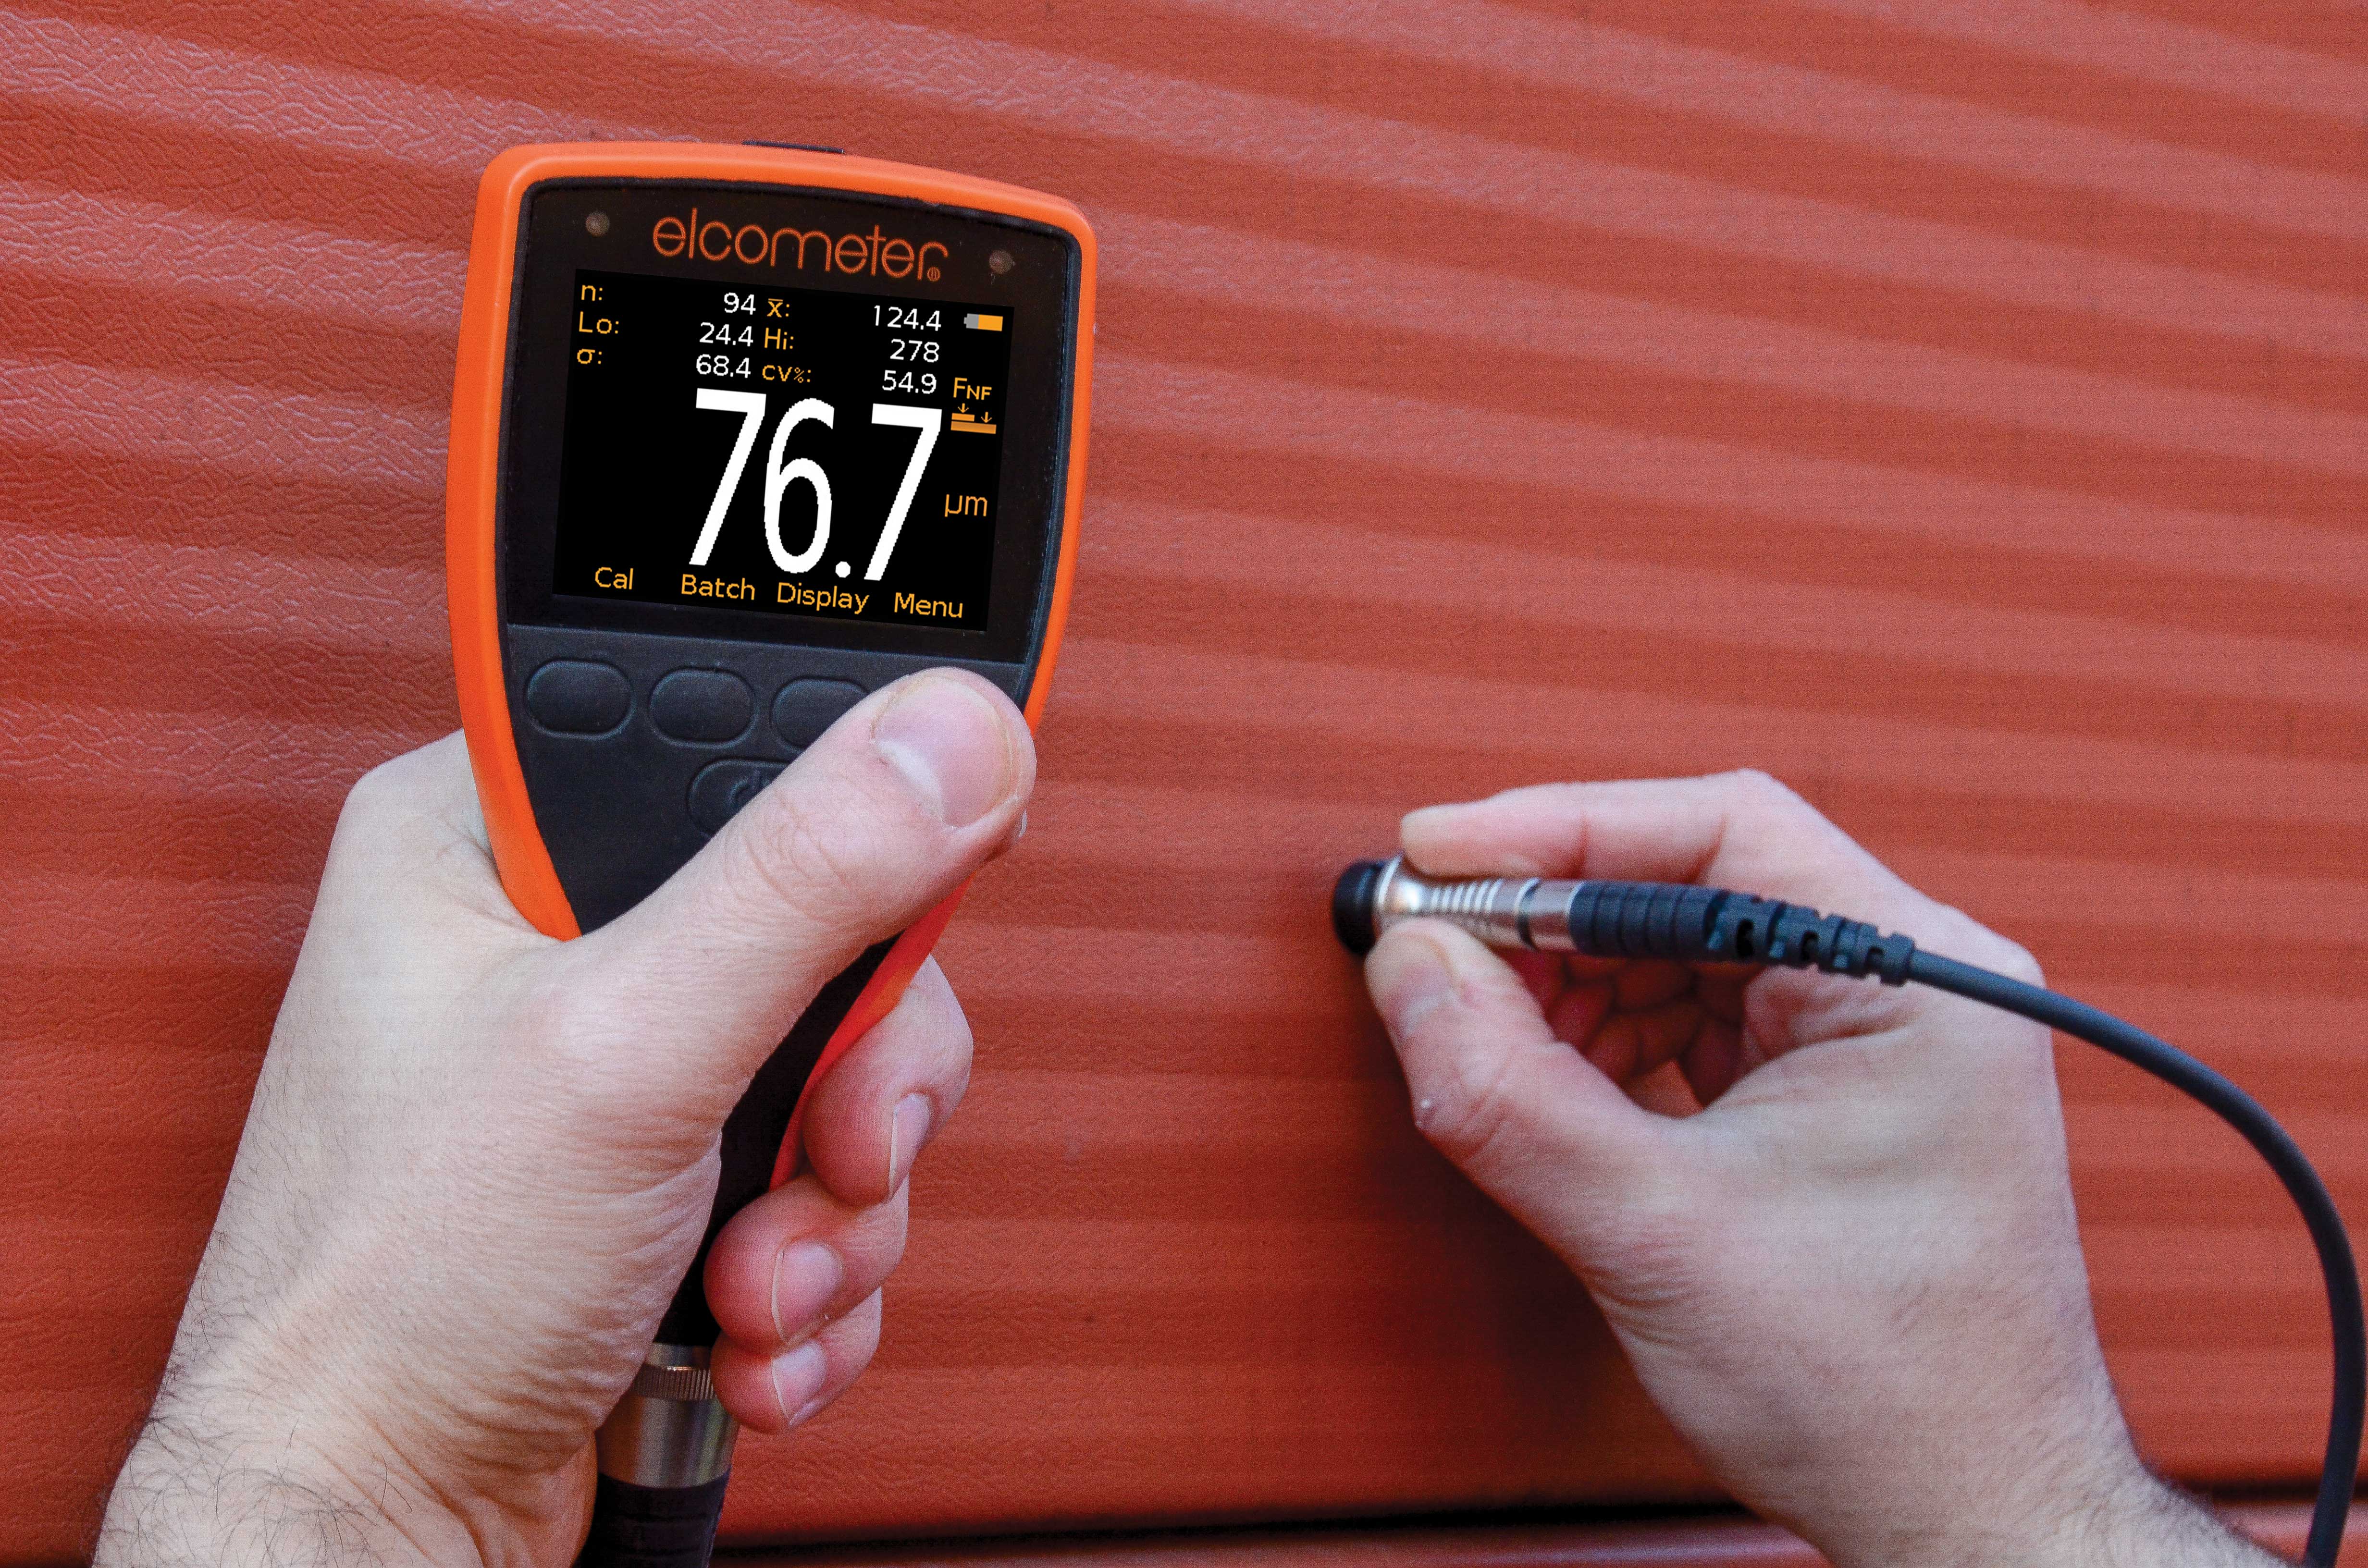
The Elcometer 415 Paint and Powder Coating Thickness Gauge provides a simple, accurate and reliable way to measure coatings on all smooth ferrous and non-ferrous metal surfaces. The gauge auto-switches to read on either ferrous or non-ferrous substrates. This is ideal for measuring cured paint or powder on both steel and aluminium surfaces such as car body panels or in a powder shop.
The gauge features a large, easy-to-read screen and is capable of taking more than 60 readings per minute. The central Bigfoot™ integral probe, with the integrated V-groove, allows repeatable readings on both flat and curved surfaces.
Batching
The ability to collect readings in batches enables the user to carry out several different jobs before downloading the results, using any provided software to a PC, tablet or smart phone. The Elcometer software, ElcoMaster®, enables the inspector to write reports and present them in a format required by the employer or the client.
Batches can be reviewed either numerically, or graphically. When reviewing the batch graphically, any readings outside set limits will be shown as red columns as opposed to white columns where the readings are within the specification/limits entered into the gauge.
Whilst measuring in batch mode, a trend graph displaying the last 20 readings, together with the last digital reading can be displayed.
How Elcometer Can Support You
If you need support selecting the right Coating Inspection Gauge for your project or job, get in touch with our team by visiting our contact us page.
